About Inventor
Inventor is one of the more popular software's used to created different 3D shapes and objects that can be created using the 3D printers. In my introduction to Inventor I learned how to create and use the software, and how to 3D print my objects I create on the software. On this page I will do a step by step description, with pictures, on how to create one of my favorite widgets. I will also include pictures of the other five widgets I have created, and are ready to print. I will also show my 3D printing process, and what the final product looks like.
Sketches of widgets
How to create a widget
One thing to always remember when using inventor is the order that things need to be done. That order is sketch, dimension, 3D, repeat. If this order is not followed more times than not the widget you are creating will be incorrect.
|
|
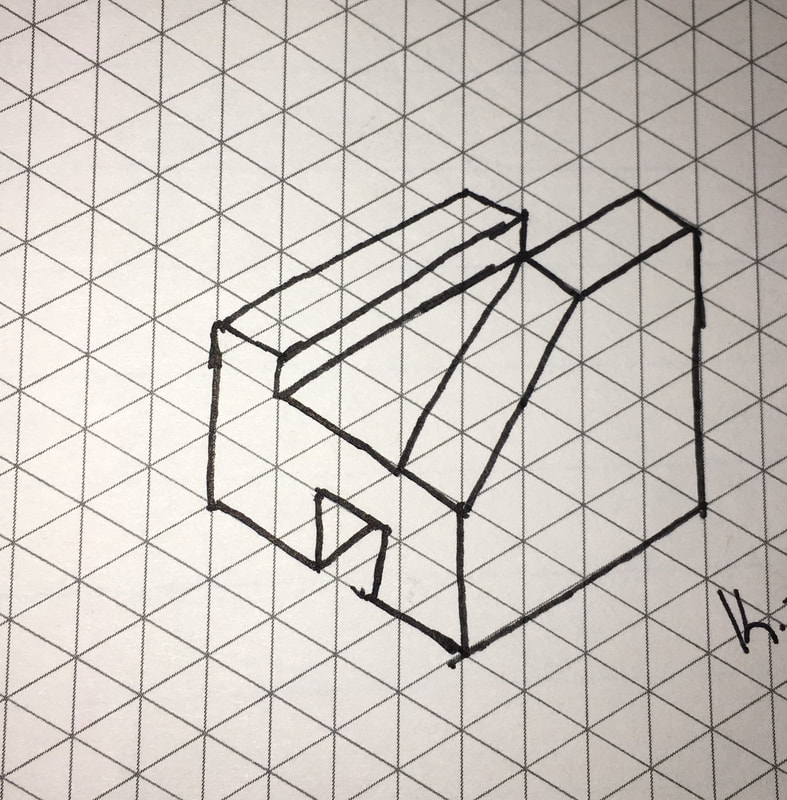
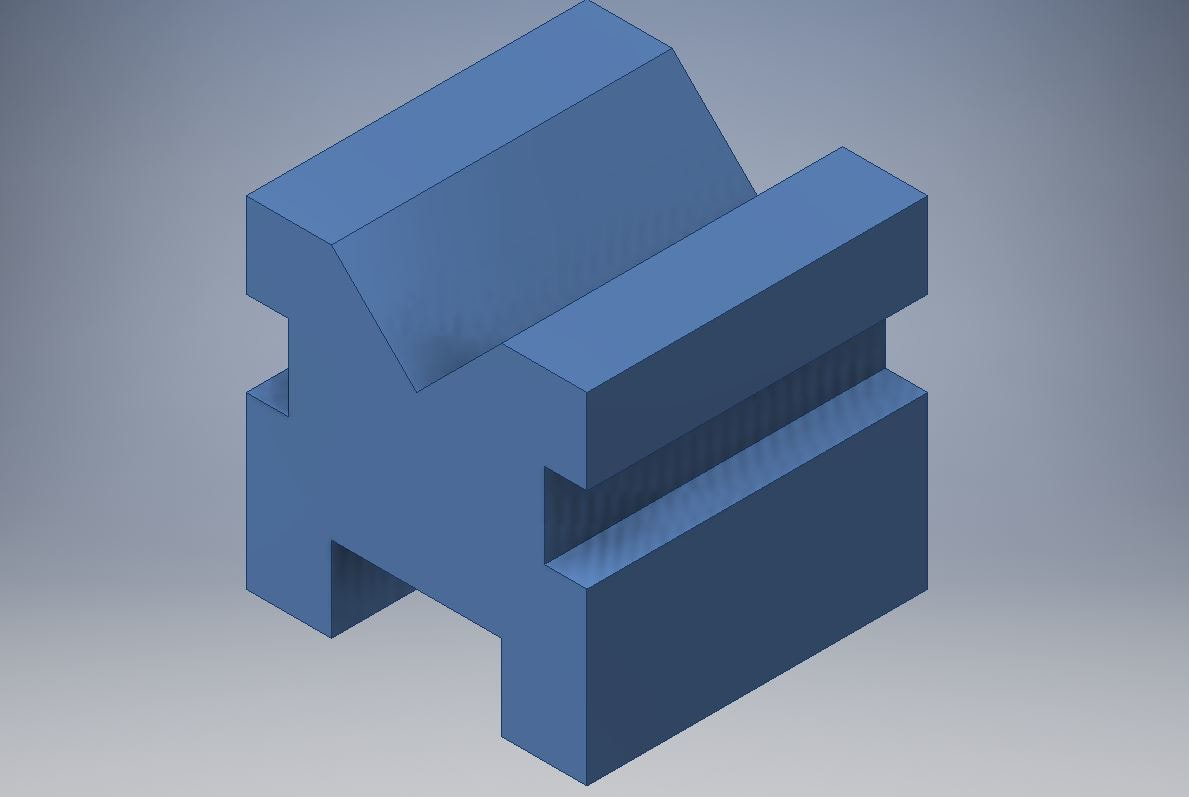
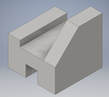 This is the widget I will show how to create This is the widget I will show how to create
To start creating this widget in Inventor you will first want to start on a fresh, new page. Once you have created a new page you will want to choose the option standard.itp. Once you have chosen that file it is time to sketch! You will then click on the first button on the tool bar that is labeled new sketch, as shown in picture. Once you click on that a figure will appear to pick which plane to sketch. You are going to choose the XY plane, as shown in picture. This will bring you to screen with a large plus looking line.
|
|
|
Once you are on that screen now you are going to choose the line tool, which is located right next to the new sketch button. Once that tool is selected you are going to make the front of widget which looks like the step 5 picture. Once you have this sketch you are going to need to dimension the sketch. To do that you are going to want to choose the dimension tool which is on the right of the tool bar. To dimension you drag out on a line and double click the number to edit it. All of your dimensions should be the same as the step 6 picture. Once your dimensions are correct you are going to click the finish sketch, which will be a big green check mark on the right of your toolbar. after you do that your screen should look like the step 7 picture. Once it looks like that you will click the extrude button, then the OK button. This is located next to the new sketch button. Your figure should look like the step 8 picture.
|
|
|
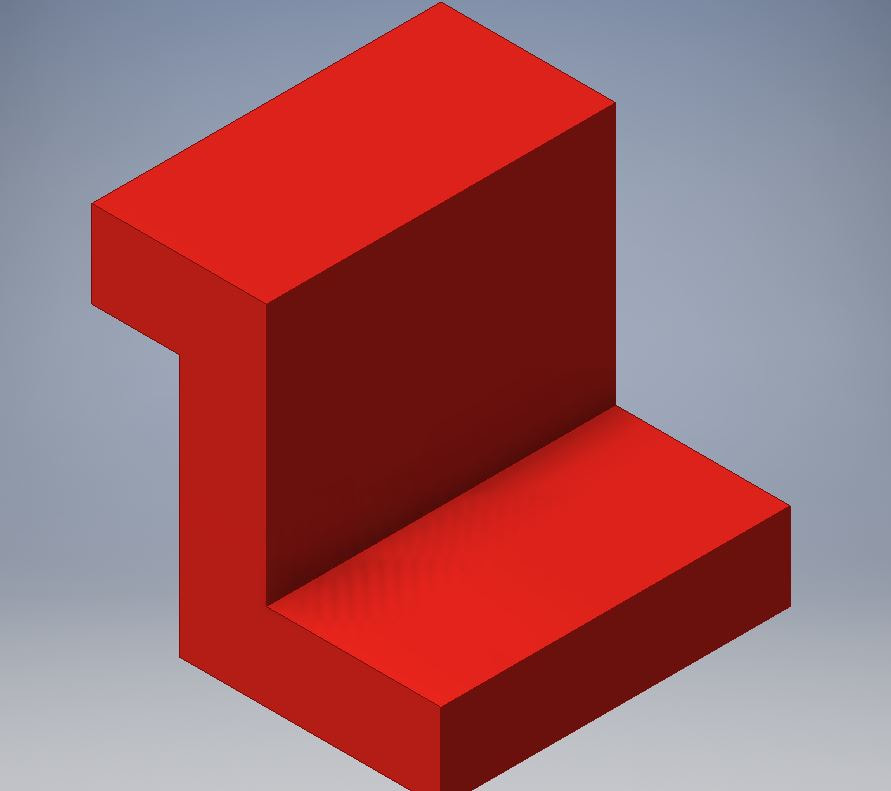
Once you have extruded your figure, it is time to cut out extra edge! to start you are going to hit the new sketch button, when you do so you are going to be asked which side you would like to sketch. You will chose the largest side, as shown in the step 9 picture. IF you clicked the corrected side your screen should look like the step 10 picture. You are then going to chose you line tool and create a triangle looking like the one in the step 11 picture. You should dimension the sides to be .5 the same you did on the first step. Once you have done that you will click the finish sketch and click extrude like last time. This time in the extrude settings box you will want your settings to look like the step 12 picture. Before you click OK your object should look like the step 13 picture. When you click OK you have completed your widget! The completed widget should look like the step 14 picture.
|
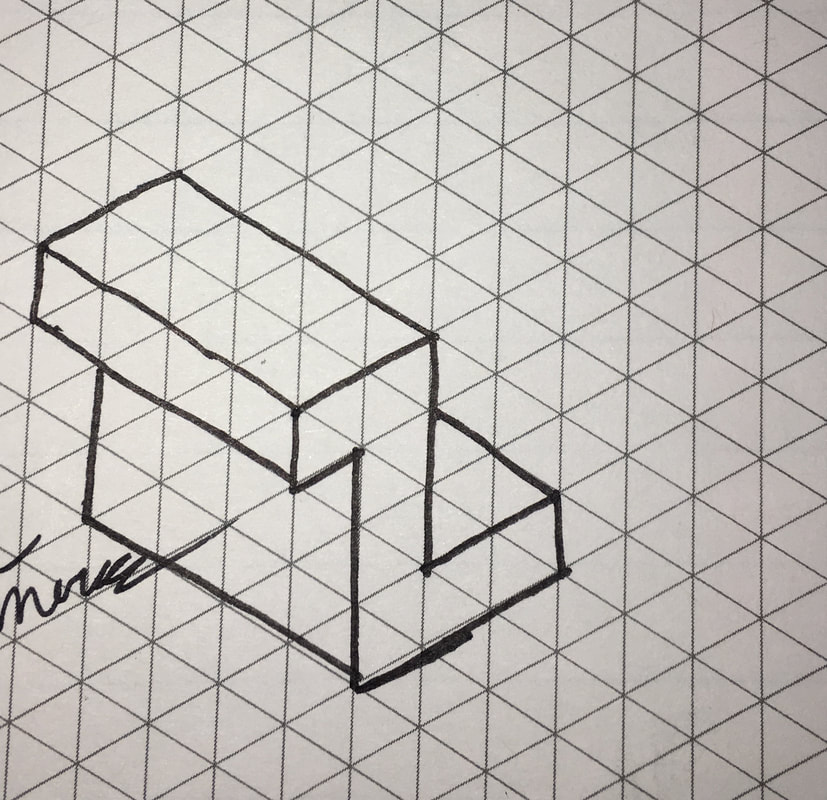
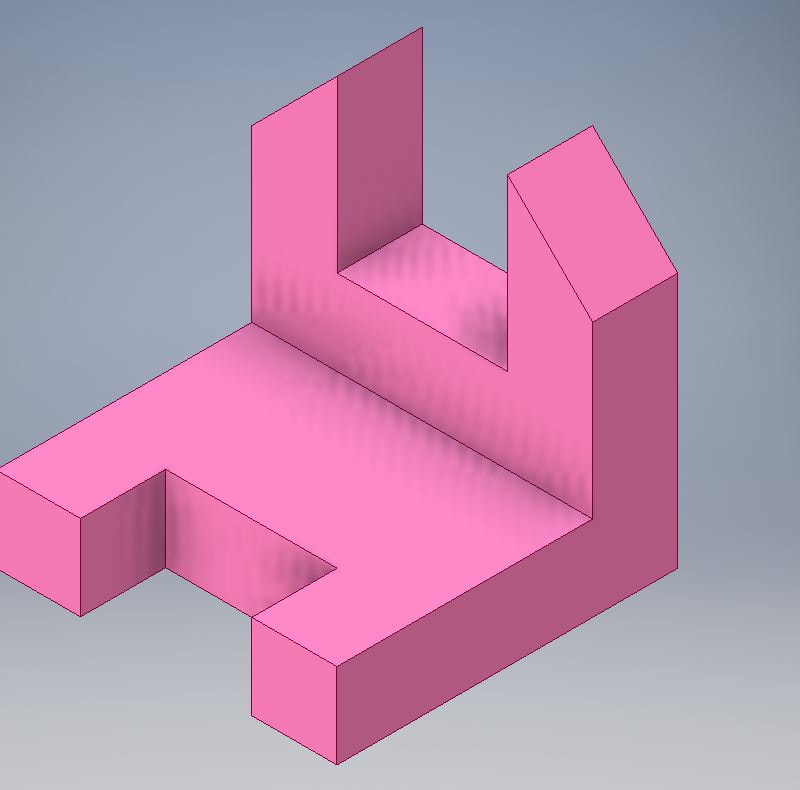
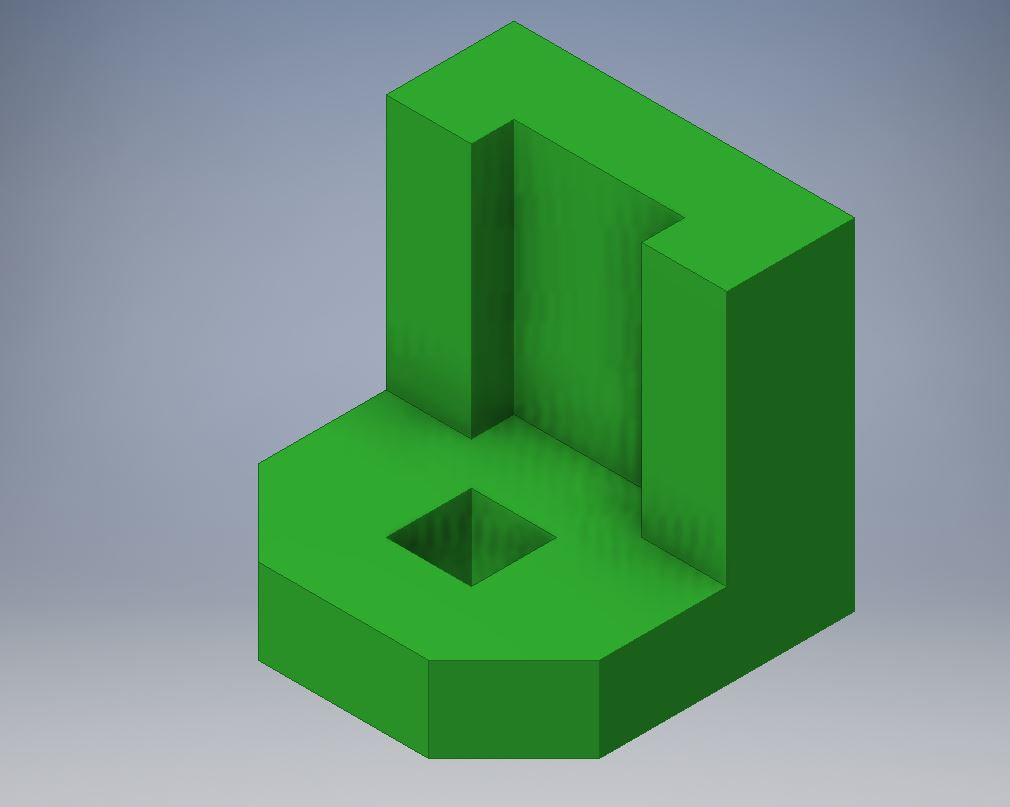
My Other Widgets

Setting up Makerbot Desktop
|
First you are going to open the makerbot desktop and select your file. Once you add your file your widget will be very small. Next click on the widget so it has a yellow highlight around the edges. You are then going to click the scale object button and make you print 1000. After you do that you will click the move objects button and select the center , and on platform button. Once you save your file onto a flash-drive you are ready to print.
|
|
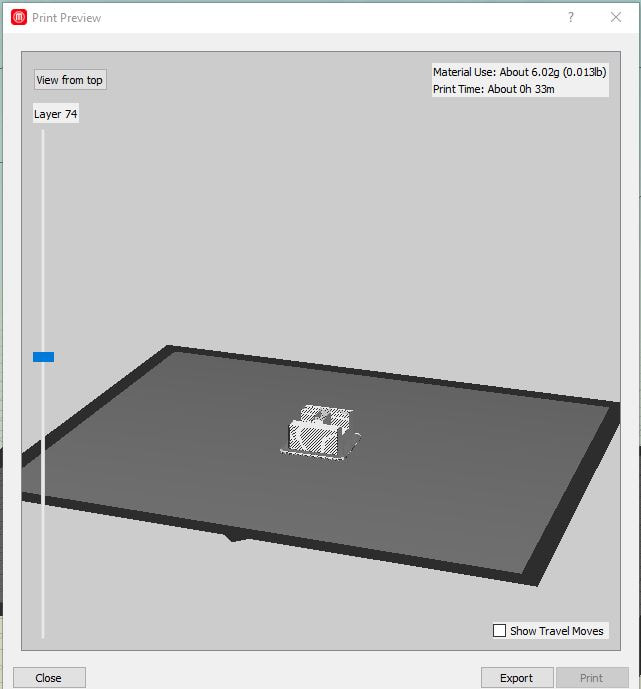
Print preview screen
Printing My Widget
To print your widget take your flash drive and put it into your 3D printer. Make sure all of the setting are how you like them and click print. When your item is printing you do not need to watch it the whole time, but it is really cool to watch them print layer by layer until you get your final product.
Photo used under Creative Commons from perriscope
